There are so many surfaces that we apply paint to, but how are we meant to know what preparation is required for each different surface? What are the best painting prep practices? This Blog sets out to try and make it a little easier to find out.
Preparing a surface properly before painting is key to achieving a smooth, long-lasting finish. Whether you're working on walls, wood, metal, or concrete, the right prep work can make all the difference. As experienced house painters in Auckland, we know that cutting corners during preparation can lead to peeling, uneven coverage, and poor durability. With so many different types of surfaces out there, it can be overwhelming to figure out how to prepare each one. Fear not! This blog aims to demystify the process and help you confidently tackle any painting job.

Interior and Exterior Surfaces
Interior Walls
As interior painters in Auckland we recommend starting with a clean, smooth surface to help the paint adhere better:
- Clean the walls – Use a mild detergent and warm water to remove dust, grease, and stains.
- Repair any damage – Fill holes and cracks with filler and sand them smooth once dry. Fill any cracks around the skirtings, doors, windows, and celings with interior caulking (like No More Gaps)
- Sand the surface – Lightly sand glossy or uneven areas to improve paint adhesion.
- Use a primer / undercoat – A high-quality primer / undercoat will create a uniform base and help the paint last longer.
Exterior Surfaces
Exterior surfaces face more wear and tear from weather, so proper preparation is essential:
- Wash the surface – Use a pressure washer to remove dirt, mold, and peeling paint.
- Scrape and sand – Remove loose or flaking paint, then sand the area to create a smooth surface.
- Repair damage – Fill dents with exterior filler and cracks or gaps with exterior-grade caulking (like No More Gaps).
- Prime exposed areas – If bare wood or metal is exposed, apply a suitable wood primer to the wood and a metal primer to the metal to protect against moisture.
Understanding Different Surfaces In More Detail
Every surface requires a unique approach. Let’s break down some common surfaces you might encounter and the preparation steps you should follow for each.
Wood Preparation Steps:
Clean: Start by washing the wood with soapy water to remove dirt and grease. Rinse and allow it to dry completely.
Sand: Lightly sand the surface to create a smooth texture and help the paint adhere better. Use a fine-grit sandpaper for this.
Prime: Applying a primer is especially important for bare wood to prevent the paint from peeling and ensure an even finish. Normally an undercoat like Resene Quick Dry is very good for this.
Gib Board Preparation Steps:
Patch Holes: Fill any holes or imperfections with joint compound, smooth it out, and let it dry. Sand the area lightly once it's dry.
Clean: Dust the surface with a damp cloth or a vacuum to remove any debris.
Seal: A high-quality sealer will provide a good base for the paint and help it adhere properly. Something like Dulux PrepCoat Sealer is good for this.
Metal Preparation Steps:
Clean: Use a degreaser to remove any oil or grime. Rinse thoroughly and dry.
Sand: Lightly sand the surface to remove rust and create a better bonding surface for the paint.
Prime: Always use a metal primer to prevent rust and corrosion and ensure the longevity of your paint job. You can use a primer like Resene General Purpose Metal Primer for this.

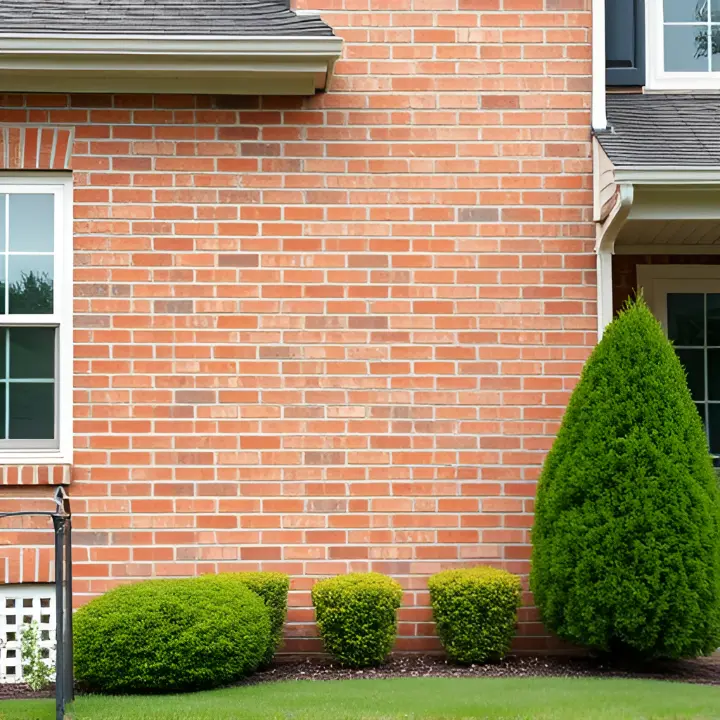
Masonry (like Brick or Concrete) Preparation Steps:
Clean: Use a pressure washer to remove dirt and grime. Allow it to dry completely.
Repair: Fill any cracks or holes with masonry repair compound. Let it cure as per manufacturer's instructions.
Etch or Prime: For concrete, depending on the type of paint you’re using, you may need to etch the surface or apply a specialized masonry primer. If the concrete is very smooth, use an acid etching solution to create texture, followed by a general concrete primer. If its new masonry its also good to use something like Resene LimeLock which helps stop the lime staining from appearing. For bricks a concrete primer is best prior to the top coats of suitable paint.
Previously Painted Surfaces - Preparation Steps:
Clean: Scrub the surface to remove any grease, dirt, or mildew. Rinse and dry.
Sand or Scrape: If the existing paint is peeling or flaking, scrape off the loose paint and sand the edges to smooth out the surface.
Prime: Use a primer suited for the type of paint you’ll be applying, especially if changing from a dark to a light color. A primer like Resene Quick Dry is good for this.
Previously Stained Timber - Preparation Steps:
Clean: Scrub the surface to remove any grease, dirt, or mildew. Rinse and dry.
Sand: Light sanding the timber surface will be beneficial.
Prime: Use a stain blocker to seal and lock the previous stain in, and get it ready to have an acrylic paint applied.

Conclusion
While the thought of preparing surfaces for painting may seem daunting, a little knowledge goes a long way. By taking the time to properly prepare each surface, you’ll ensure outstanding results that will stand the test of time. No matter the project, remember: preparation is the real secret to success in painting, and always use high-quality paint suitable for the surface you're working on.
For a long-lasting finish, consider hiring a professional house painting company. The best house painters in Auckland, such as McNair Painting Services, have the tools and expertise to handle any surface.